Creating Your First VM with Vagrant
Having installed VirtualBox and Vagrant, we can now proceed to create our first Vagrant virtual machine.
Each Vagrant VM uses a Vagrantfile configuration file - so we need to work out a directory structure where we can keep and use these configuration files.
The directory structure I have chosen to use is:
keith@hp-compaq-b:~/workspace/vagrant/ vm-name$
where vm-name is the name of a particular box to download
In this example I will be downloading and using the ubuntu/focal64 box, so the Vagrantfile for it will live at:
keith@hp-compaq-b:~/workspace/vagrant/ focal64$
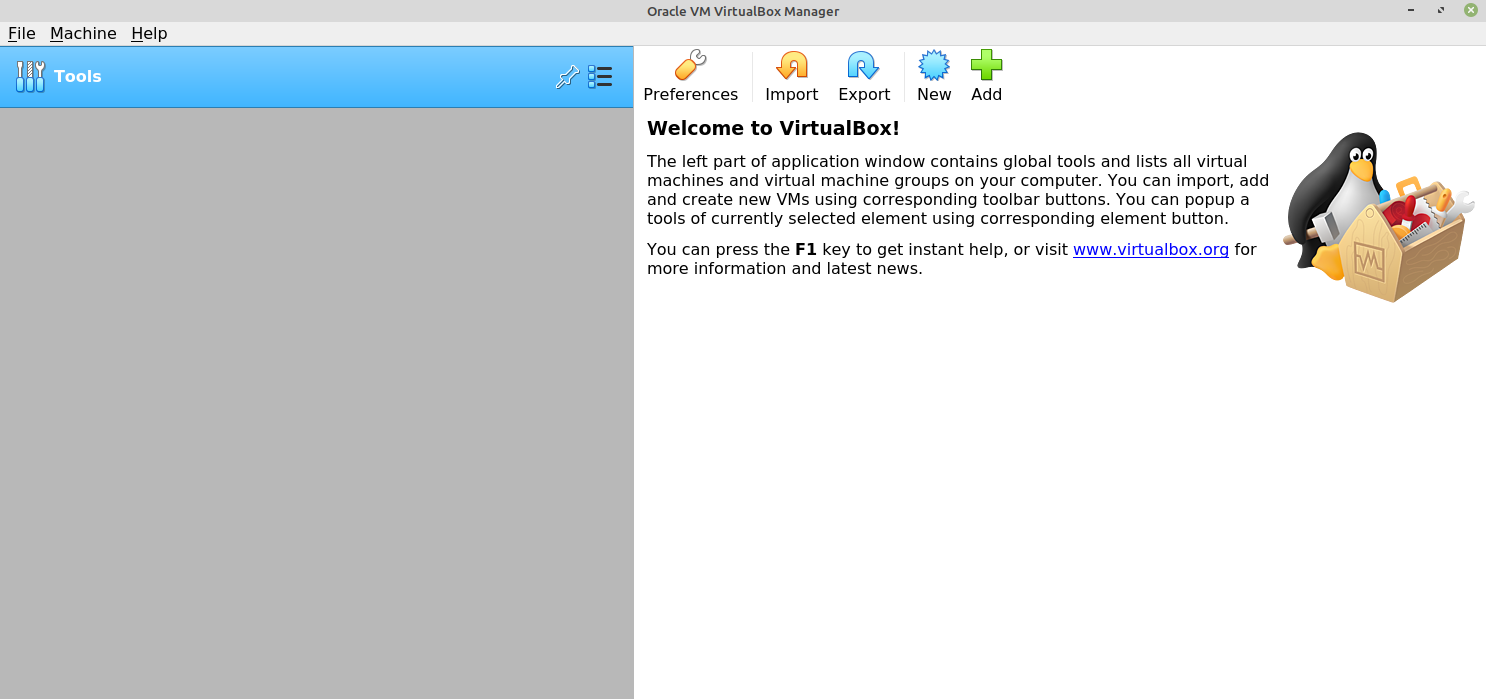
If we startup the VirtualBox GUI, we can see there are currently no VM's installed:
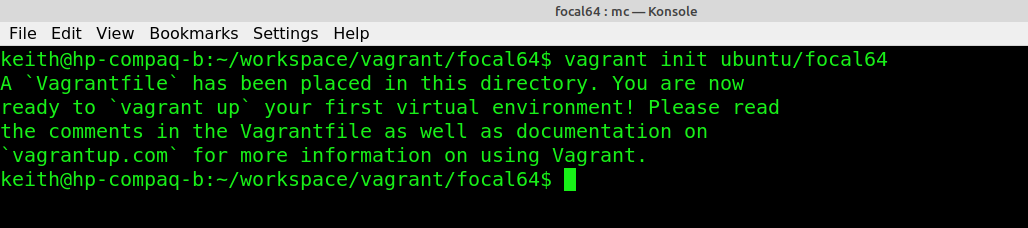
To initialise a new Vagrant VM we can use the following command:
keith@hp-compaq-b:~/workspace/vagrant/focal64$ vagrant init ubuntu/focal64
We can now download and start the ubuntu/focal64 virtual machine by running:
keith@hp-compaq-b:~/workspace/vagrant/focal64$ vagrant up
As this is the first time to download this particular VM, it could take a couple of minutes to download the complete box.
keith@hp-compaq-b:~/workspace/vagrant/focal64$ vagrant up
Bringing machine 'default' up with 'virtualbox' provider...
==> default: Box 'ubuntu/focal64' could not be found. Attempting to find and install...
    default: Box Provider: virtualbox
    default: Box Version: >= 0
==> default: Loading metadata for box 'ubuntu/focal64'
    default: URL: https://vagrantcloud.com/ubuntu/focal64
==> default: Adding box 'ubuntu/focal64' (v20221010.0.0) for provider: virtualbox
    default: Downloading: https://vagrantcloud.com/ubuntu/boxes/focal64/versions/20221010.0.0/providers/virtualbox.box
    default: Download redirected to host: cloud-images.ubuntu.com
==> default: Successfully added box 'ubuntu/focal64' (v20221010.0.0) for 'virtualbox'!
==> default: Importing base box 'ubuntu/focal64'...
==> default: Matching MAC address for NAT networking...
==> default: Checking if box 'ubuntu/focal64' version '20221010.0.0' is up to date...
==> default: Setting the name of the VM: focal64_default_1665479885429_78015
Vagrant is currently configured to create VirtualBox synced folders with
the `SharedFoldersEnableSymlinksCreate` option enabled. If the Vagrant
guest is not trusted, you may want to disable this option. For more
information on this option, please refer to the VirtualBox manual:

  https://www.virtualbox.org/manual/ch04.html#sharedfolders

This option can be disabled globally with an environment variable:

  VAGRANT_DISABLE_VBOXSYMLINKCREATE=1

or on a per folder basis within the Vagrantfile:

  config.vm.synced_folder '/host/path', '/guest/path', SharedFoldersEnableSymlinksCreate: false
==> default: Clearing any previously set network interfaces...
==> default: Preparing network interfaces based on configuration...
    default: Adapter 1: nat
==> default: Forwarding ports...
    default: 22 (guest) => 2222 (host) (adapter 1)
==> default: Running 'pre-boot' VM customizations...
==> default: Booting VM...
==> default: Waiting for machine to boot. This may take a few minutes...
    default: SSH address: 127.0.0.1:2222
    default: SSH username: vagrant
    default: SSH auth method: private key
    default: Warning: Connection reset. Retrying...
    default:
    default: Vagrant insecure key detected. Vagrant will automatically replace
    default: this with a newly generated keypair for better security.
    default:
    default: Inserting generated public key within guest...
    default: Removing insecure key from the guest if it's present...
    default: Key inserted! Disconnecting and reconnecting using new SSH key...
==> default: Machine booted and ready!
==> default: Checking for guest additions in VM...
==> default: Mounting shared folders...
    default: /vagrant => /home/keith/workspace/vagrant/focal64
keith@hp-compaq-b:~/workspace/vagrant/focal64$
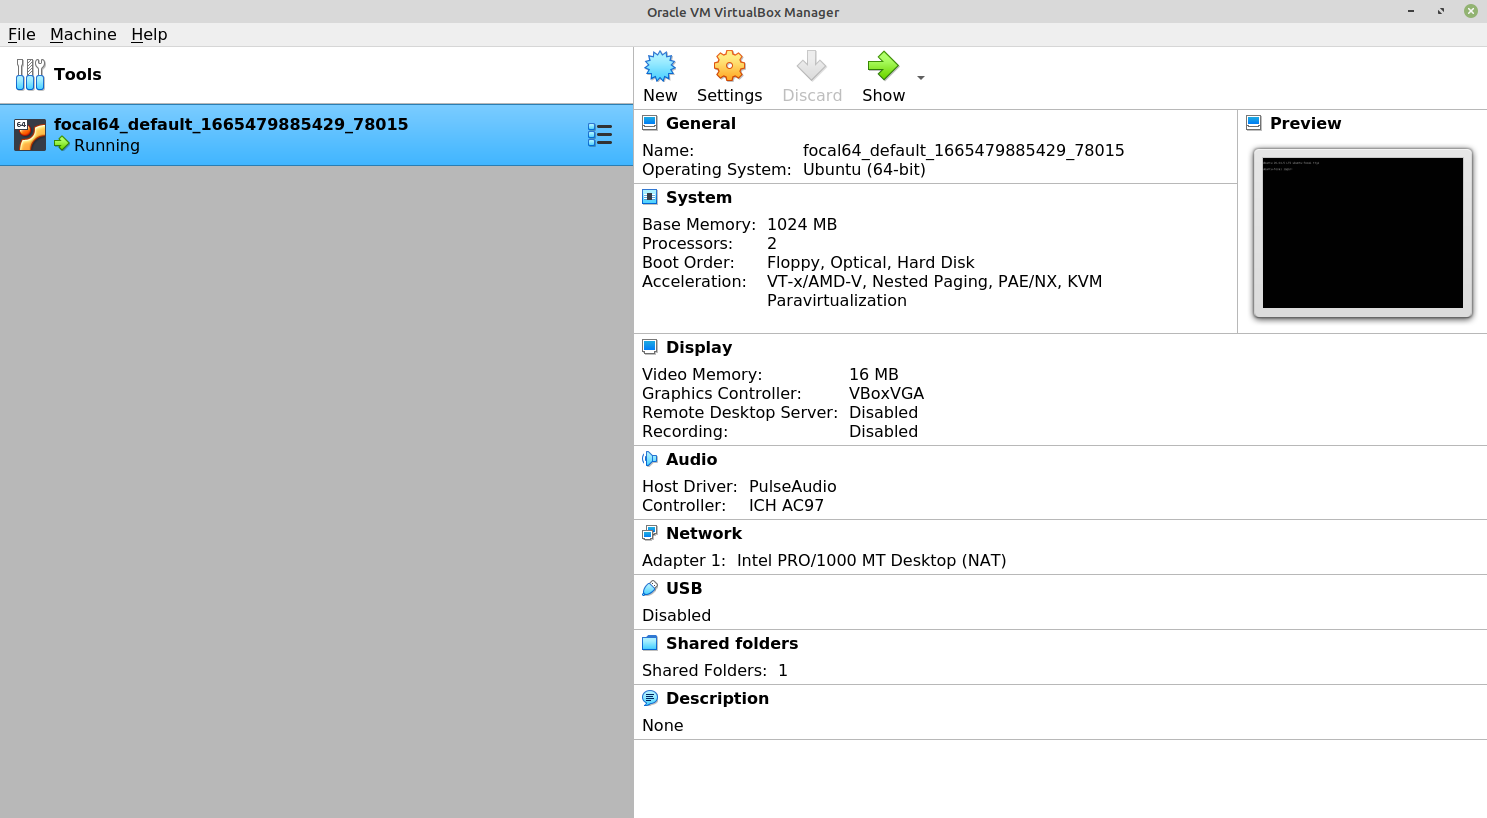
If we take a look at the VirtualBox Manager GUI, we can see the ubuntu/focal64 Vagrant VM has now been added to the GUI, and is running inside VirtualBox: